
Creating a custom PCB business card with EAGLE
An idea
I have looked into making my own business cards multiple times. They would be useful to carry with you just in case. However I never came up with something unique that would be nice and presentable on a piece of nice luxury paper. However, while browsing for ideas, I did find nice examples which replaced the paper for a PCB. This was really cool, however doing PCB designs weren’t a thing I was able to do a couple years ago. Now I recently got more experienced with it and I am about to graduate, it was a perfect time to do my own design.
What do I want?
I want this business card to be cool, and somewhat useful. I like products that have had a clear thought process beforehand. So I would say,
- Same size as typical business card.
- Cool, design features impossible on typical paper business card.
- Useful, lets say I give this card to a recruiter. It would be a nice reminder having talked with me. Improving my chances of getting the job I want.
- Simple but also unique showing the creativity needed to do engineering designs.
How?
First I started by collecting ideas and I saw some very unique PCB cards. For example, example 1 or example 2. I like simple things so the card in example 1, however very useful is too “busy”. Example 2 does a much nicer job of being “peaceful” and concise.
QR-code generator
I really liked the QR-code in example 1, so I also wanted that in my design. I found out it is quite difficult to find a nice QR-code generator just googling “QR-code generator”. Either you had to pay or it was in JPEG, which means scaling it could become pixelated. Adding “github” to the search terms led me to the project of nayuki, a nice open-source QR-code generator, this person even hosts it on their website so I don’t even need to compile it for my use!
Stock icons
I think adding icons are visually pleasing and is straight to the point. So instead of “just” putting my email on the card, I want to prefix it with an icon. Since I don’t want to reinvent the wheel, I looked for basic icons such as email, phone, LinkedIn and blog. Because I want to use this kind of professionally I had to make sure I wasn’t stealing these icons. I opted to use fontawesome icons. The icons can be downloaded as SVG under CCA 4.0. These were then imported into the PCB design software as-is.
PCB design software
I use EAGLE as my design software since I already use fusion 360 for my for my 3D-printer designs. In order to keep everything scalable, I use vector images which can then be converted using the open-source tool by Gordon Williams. The SVG files are put together in inkscape and then converted to EAGLE commands that draws the equivalent inside the EAGLE schematic.
Why? (or engineering notes)
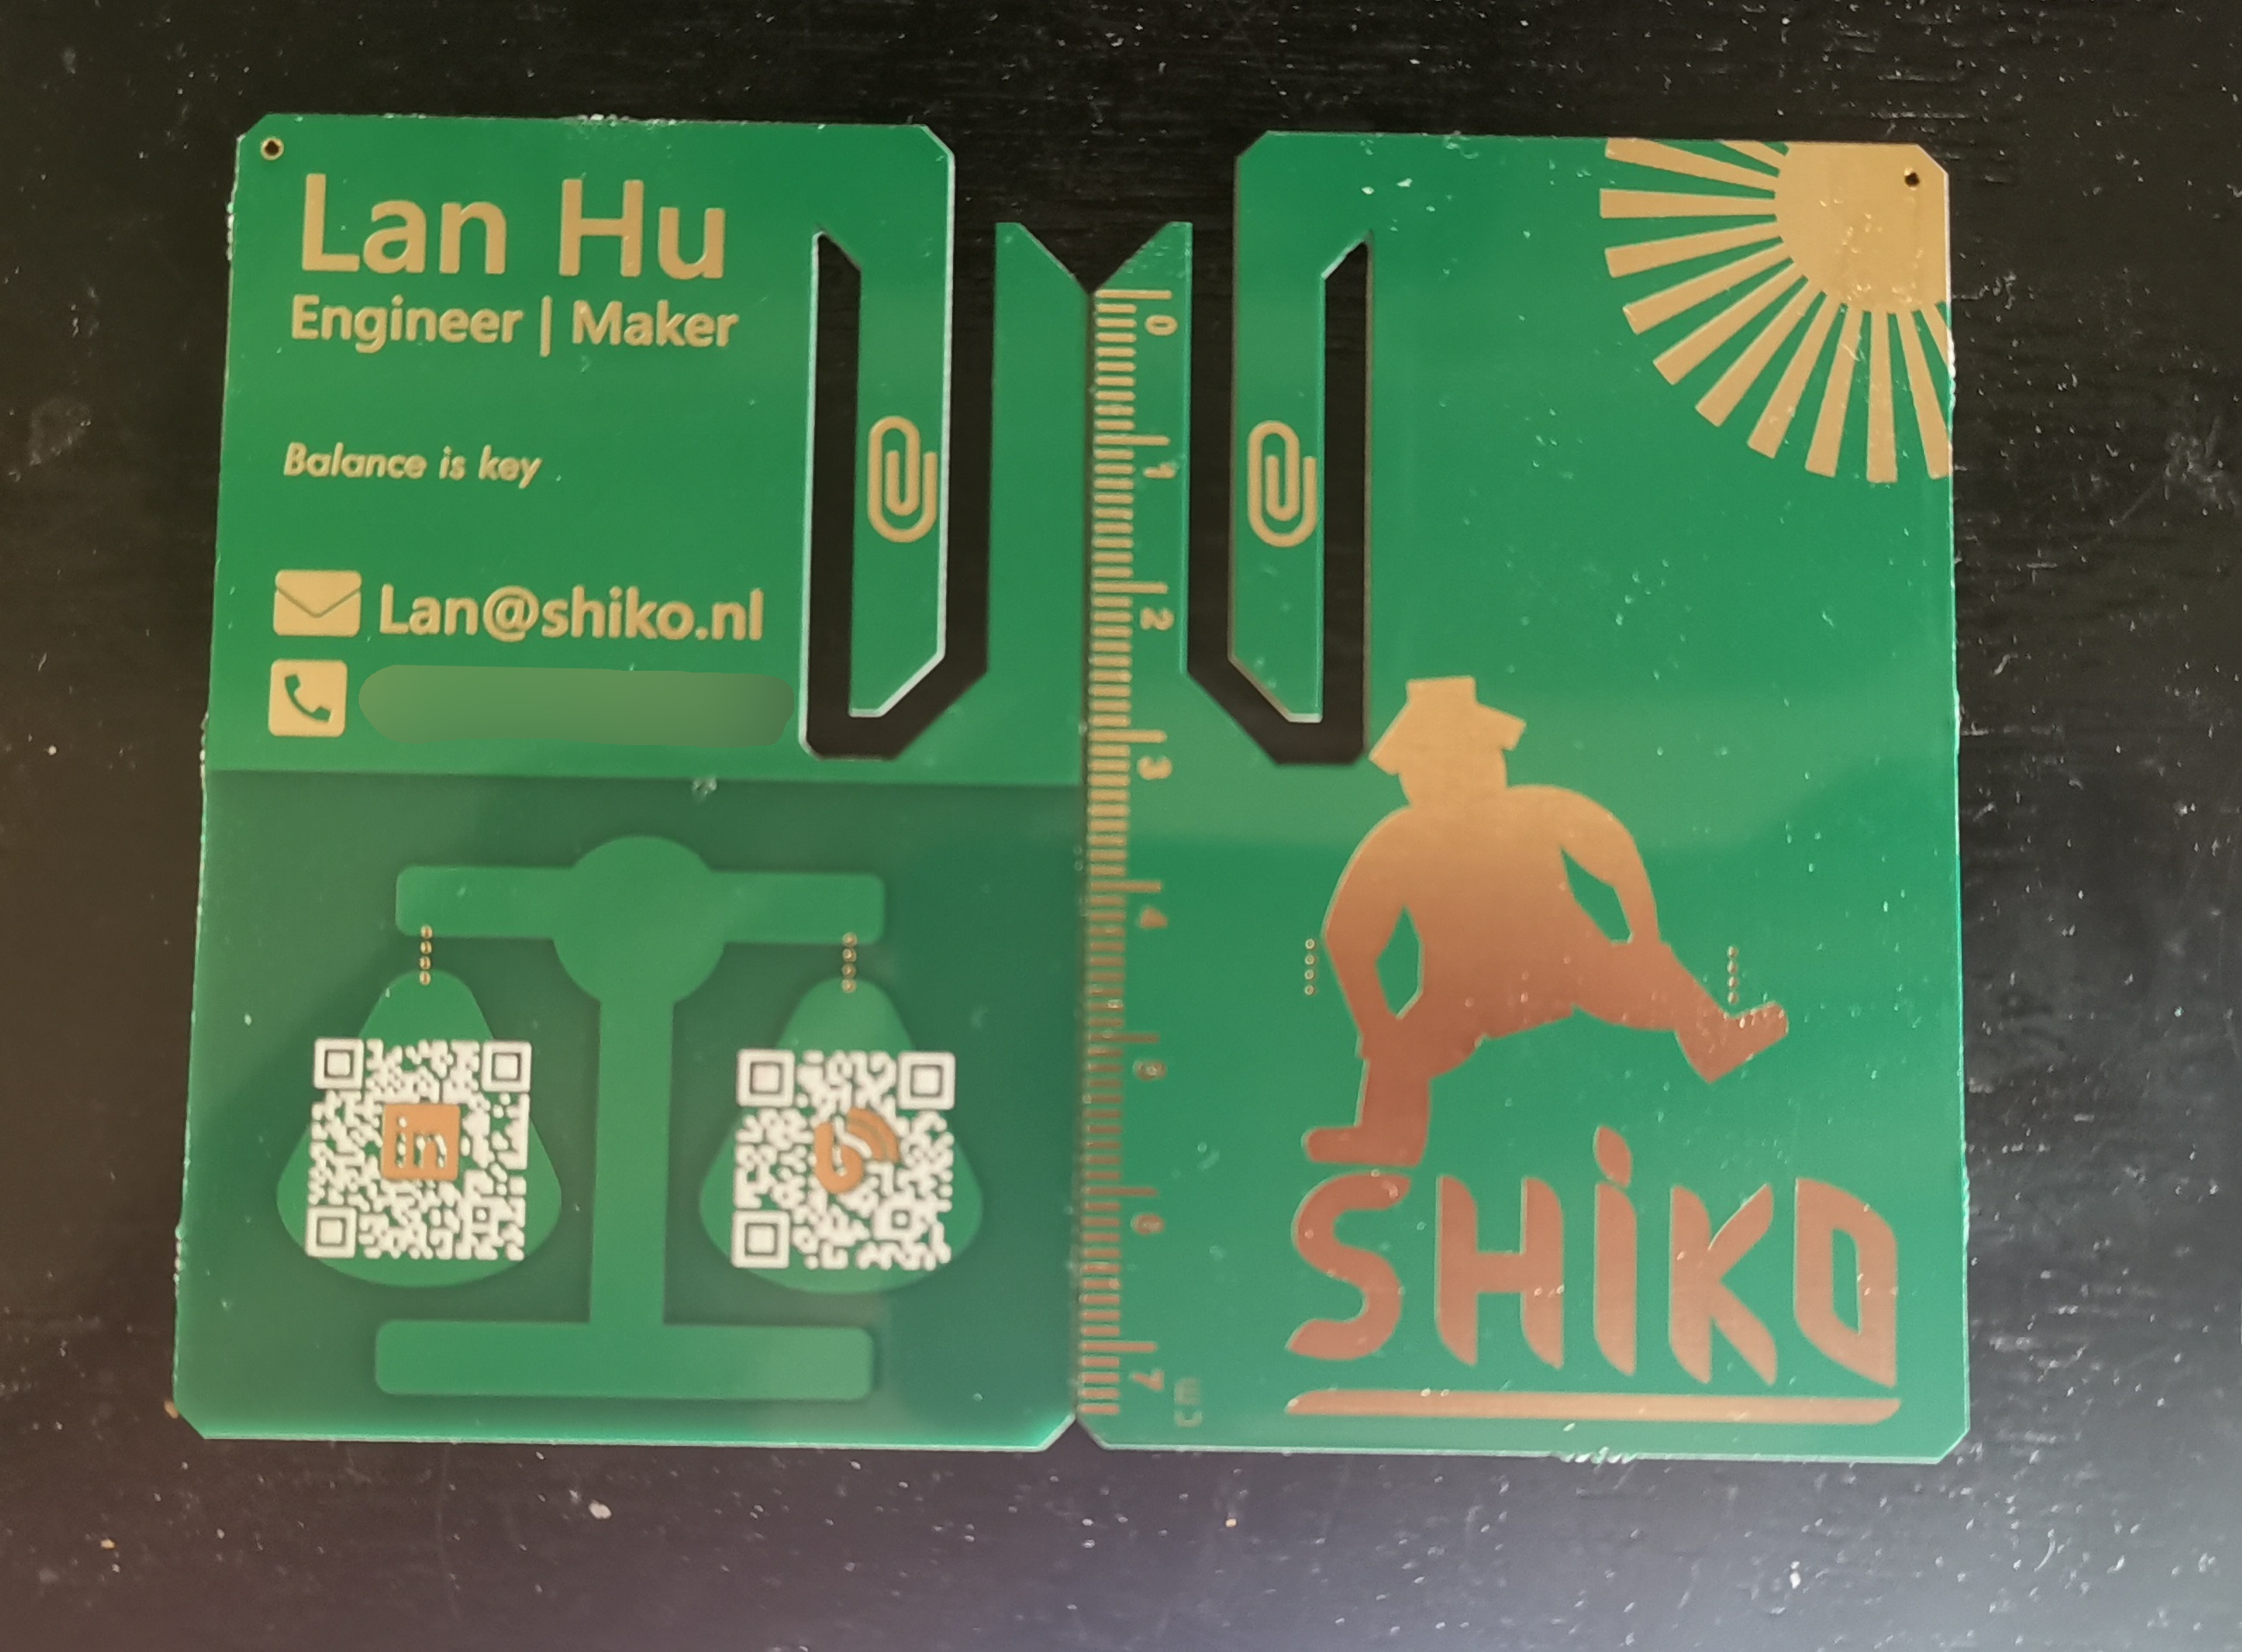
The core theme of the card is the large balance scale visible at the bottom, in my opinion engineering is all about making decisions and balancing (see what I did here?) their pros and cons. In order to design complex systems you can’t optimize every parameter isolated, as it is typically balanced-out/influenced by another parameter. Not to mention that time is not infinite and is a very critical parameter for companies known as time to market. The only solution is to make informed choices which can only be achieved by experience of others or yourself. Me gaining experience in various fields and sharing this is the ultimate goal of this blog.
The scale, is built from drawing the scale in a metal layer, and keeping the background blank. Creating contrast with depth and forming the scale image.
Continuing, in the scale you will find 2 QR-codes, LinkedIn (left) and this blog (right). I opted to use large amount of error correction, since I knew I would put an image inside the QR code and the inaccuracies of silkscreen could influence the readability of the code. This did greatly increase the size of the QR-code, however I was not heavily constrained in useable area. Some people instead use a NFC chip to forward their websites, however I did not find the added complexity of soldering a chip and using the whole back for the antenna worth conveying something that can be easily achieved with a QR-code. Also is cheaper and more likely to be used as there are more smartphones with a camera to read the QR-code than smartphones with a NFC-chip.
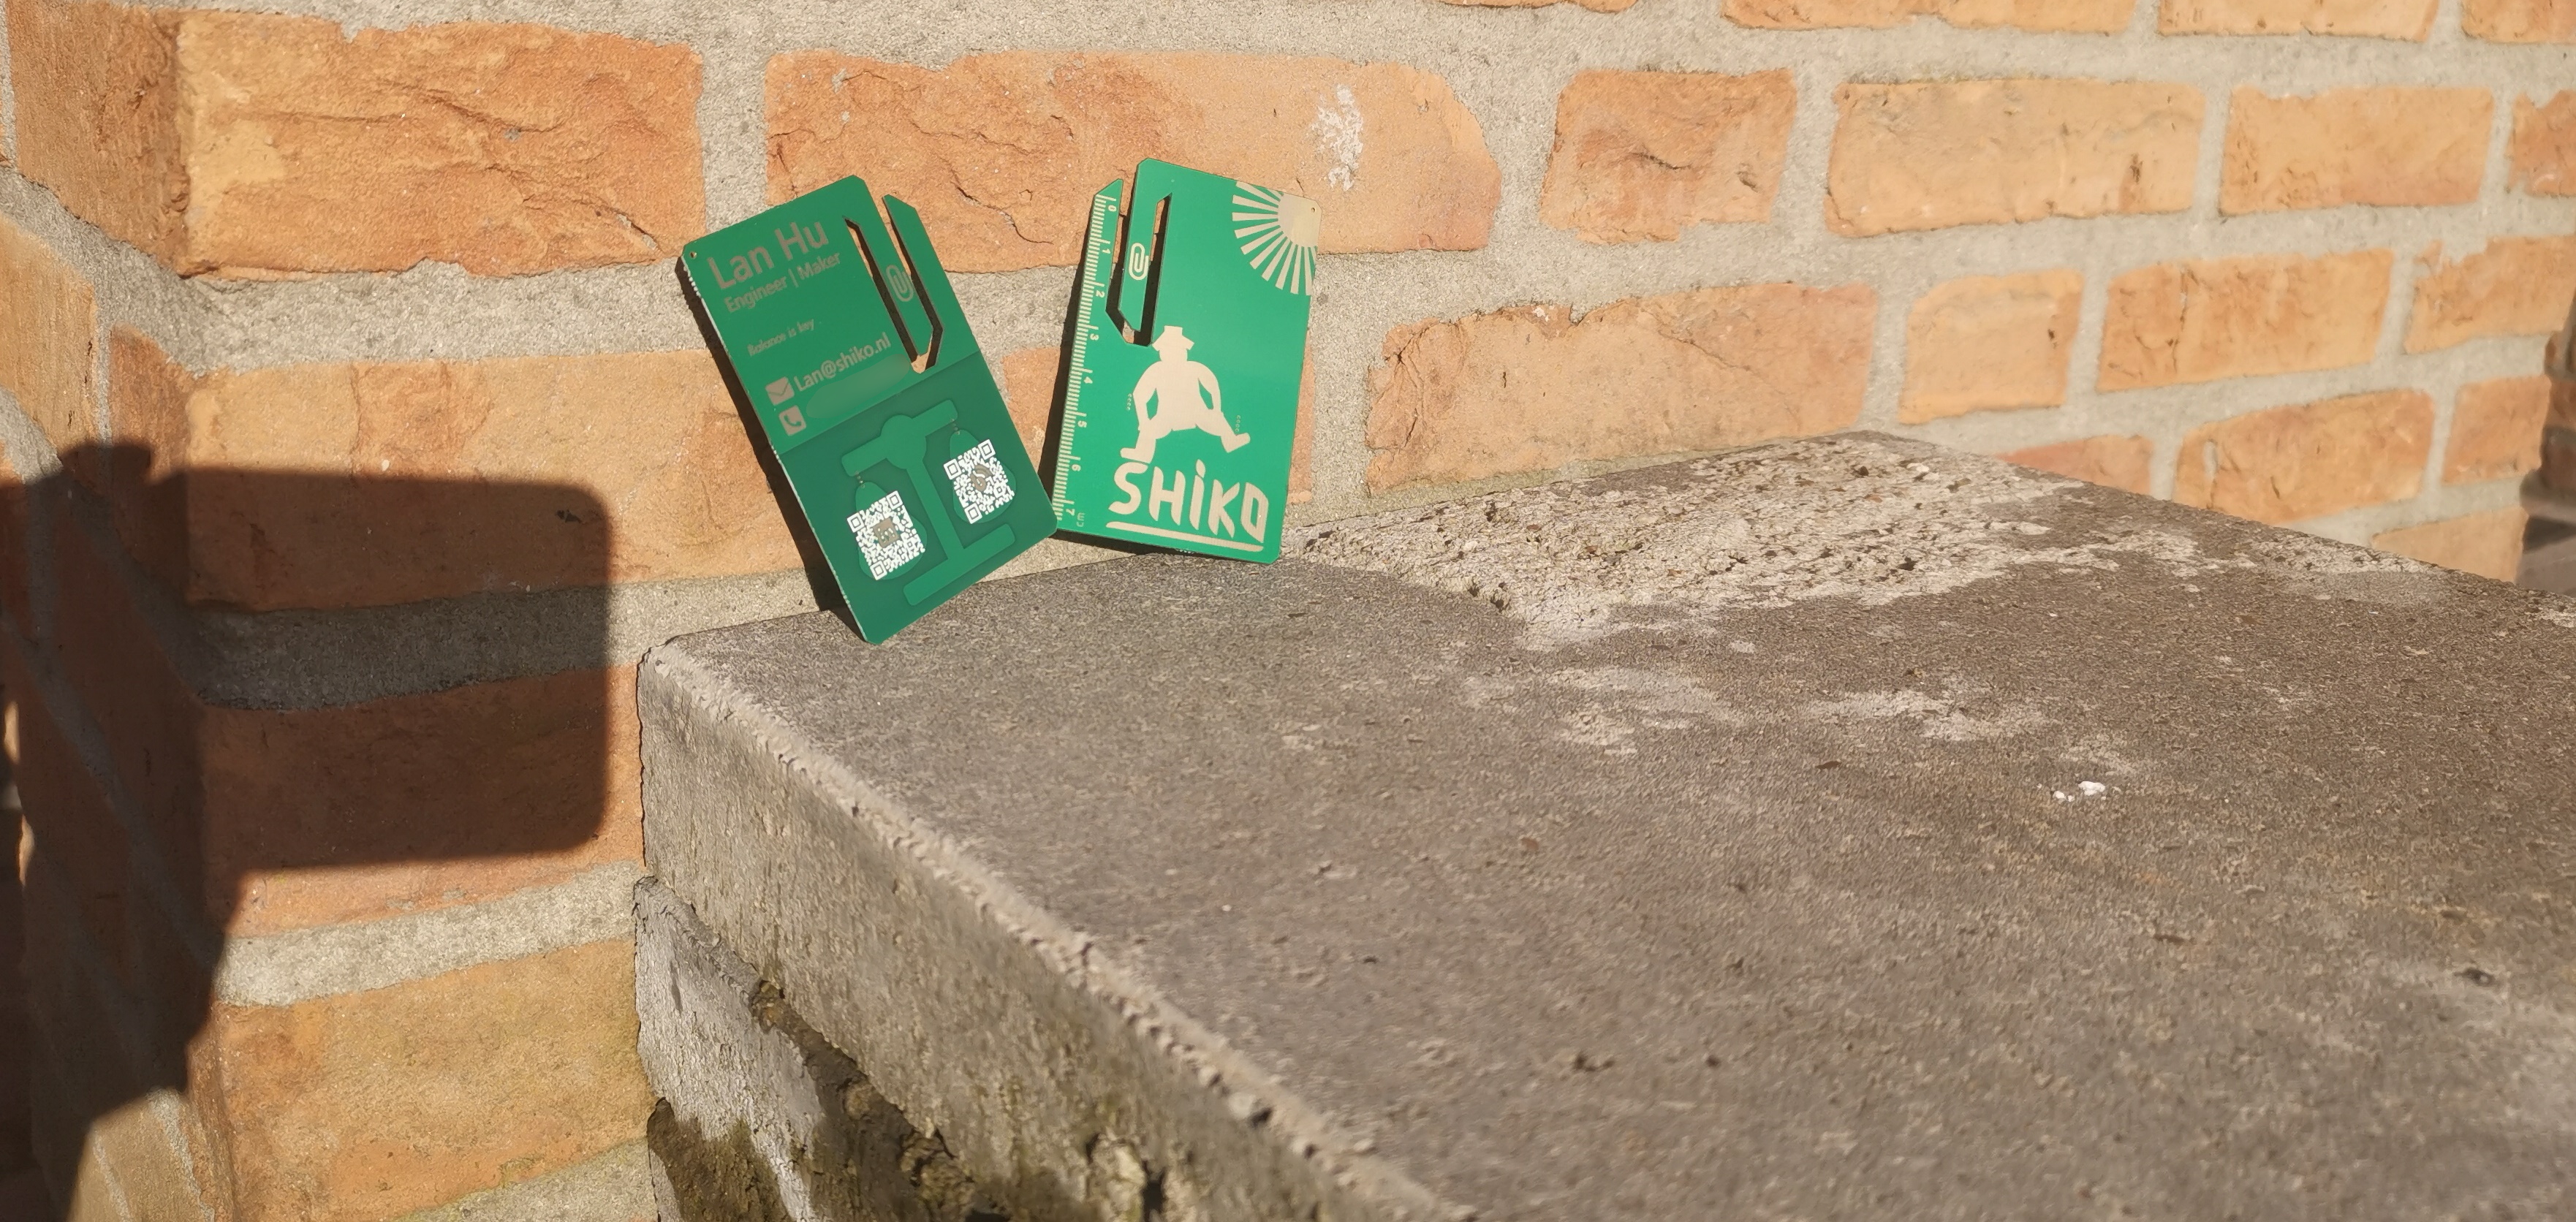
It also features a paperclip, this is one of the features I wanted to add. Because, I can imagine that recruiters are people who might want to deal with a paper-CV during an interview. A paper clip would be great to hold it together.
On the back, as main theme the sumo wrestler doing their brand move and is what inspired me to call the website “shiko”, the name of this move. The sun is created by drawing a circle and the rays by rotating a single ray over 360 degrees and is cut to fit within the card.
The feature for the back is a ruler, could come in handy. It was relatively concise and created with this tool.However was not dimensionally accurate so I had to manually resize it to fit.
Finally, when manufacturing this PCB I wanted it to feel professional and luxurious, I found that 0.8 mm thick PCB fit this, with a gold finish (ENIG).
The end of this journey
Did I learn a lot? Yes I did.
I think I used EAGLE in ways it wasn’t designed to be, but it all worked fine and showed me the limitations (no built-in support to import SVG images) but also the possibilities (a PCB design with no electrical components!).
I hope this post now motivated you also to create your own awesome PCB business card!
Comments